

DIY Beeswax Wraps 🐝
A slow, satisfying DIY that helps you break up with single-use plastic

A small swap with a big impact
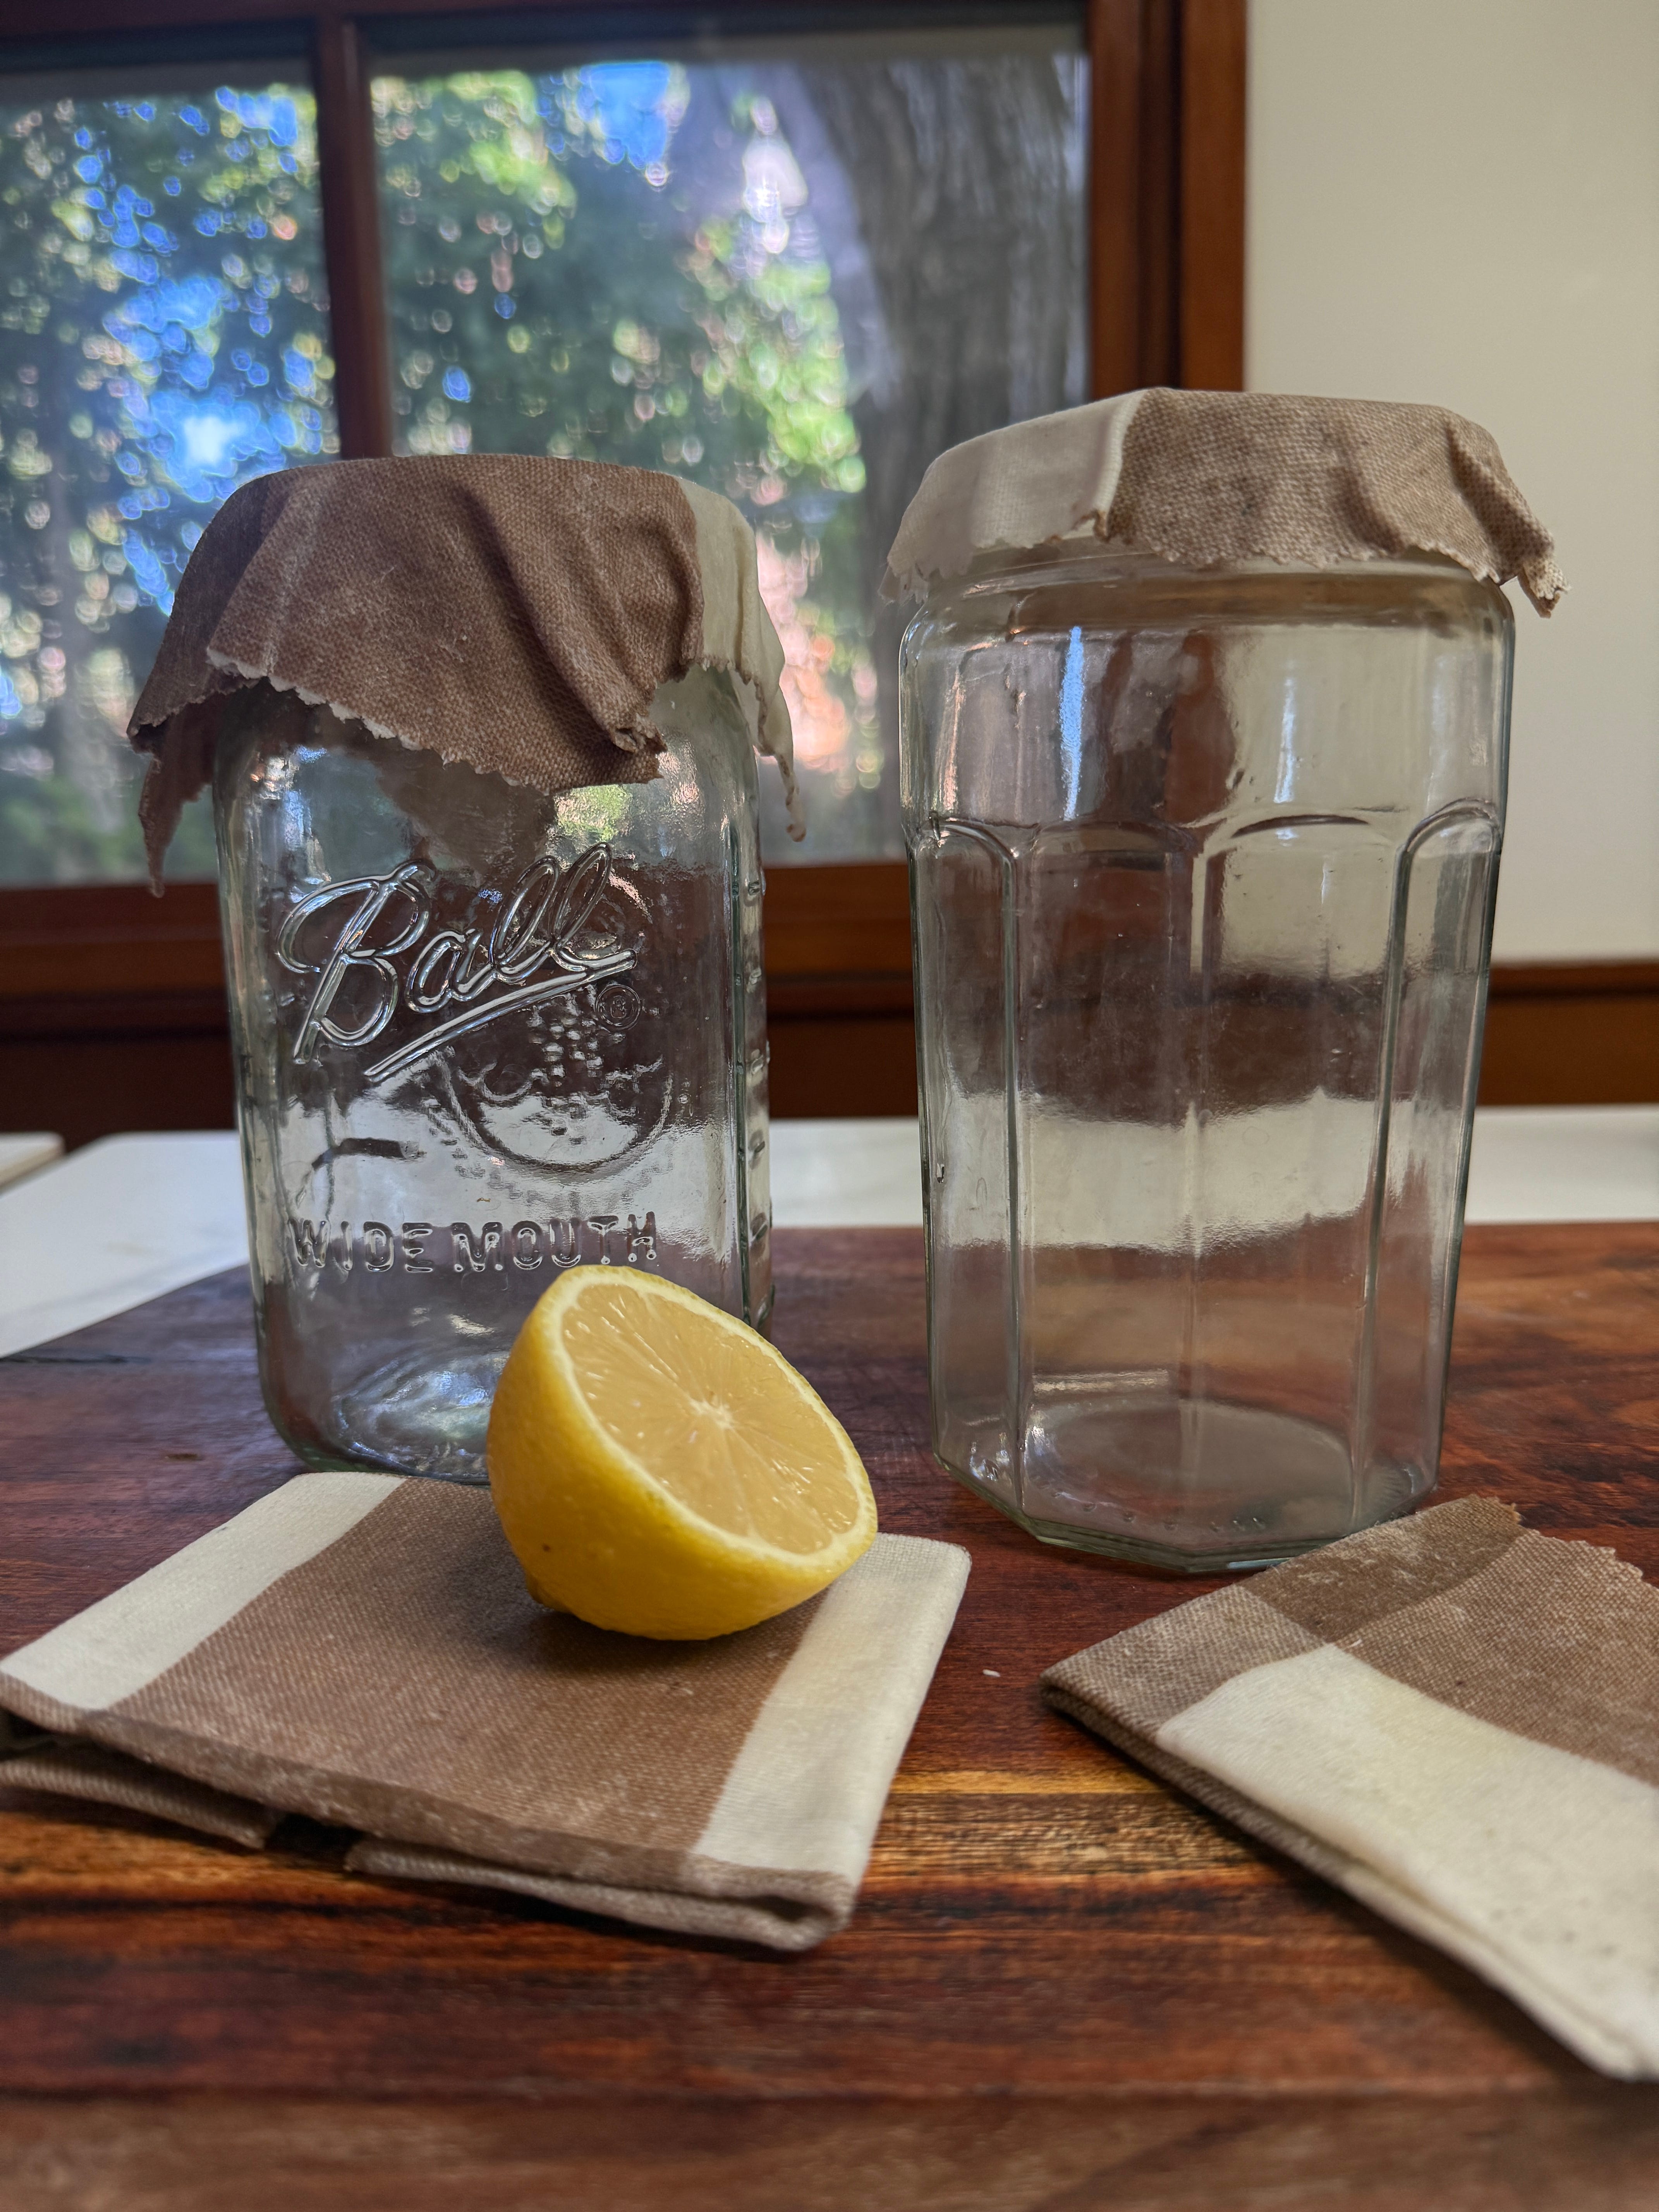
We all know single-use plastic has become a quiet villain in the kitchen — convenient in the moment, but not exactly kind to the planet. Making small swaps that feel doable and beautiful is where the magic happens, and beeswax wraps are one of my favorites. They’re reusable, biodegradable, and satisfying to make.
I started with 100% cotton fabric. It needs to be cotton for the formula to work properly because natural fibers absorb the wax blend evenly, while synthetics don’t bond the same way. You can pick out your own prints, use scraps, or upcycle something you already have. I used an old tablecloth and cut it into different sizes and shapes.
Just a quick heads-up before you dive in: this project does get messy. Wax likes to wander. Prep your workstation, use a foam roller for even coverage, and keep your wax mixture on the double-boiler while you work — beeswax hardens fast once it cools.
Pro Tip: When you’re finished, remove it from heat and immediately pour any leftover blend into a disposable aluminum tin. That tiny step makes cleanup easier, because you can wipe your glass container clean before anything sets. And remember: cool water only when rinsing tools so the wax doesn’t re-melt and redeposit everywhere.
There’s something satisfying about making a simple item that gets used again and again, especially in a world where so much ends up tossed after one round in the kitchen. Beeswax wraps aren’t perfect for every task, but they step in for those moments when plastic wrap feels unnecessary or wasteful and they do it in a way that feels a little more intentional. And if you love gifting homemade things — cookies, baked goods, herbal blends, little kitchen treats — these wraps become the sweetest kind of “wrapping paper.” A circle tied around a jar, a small square folded around cookies, a larger piece wrapped around a loaf… it adds a handmade touch and then becomes a reusable gift long after the treats are gone.
DIY Beeswax Wrap Recipe (Iron Method)
You’ll need:
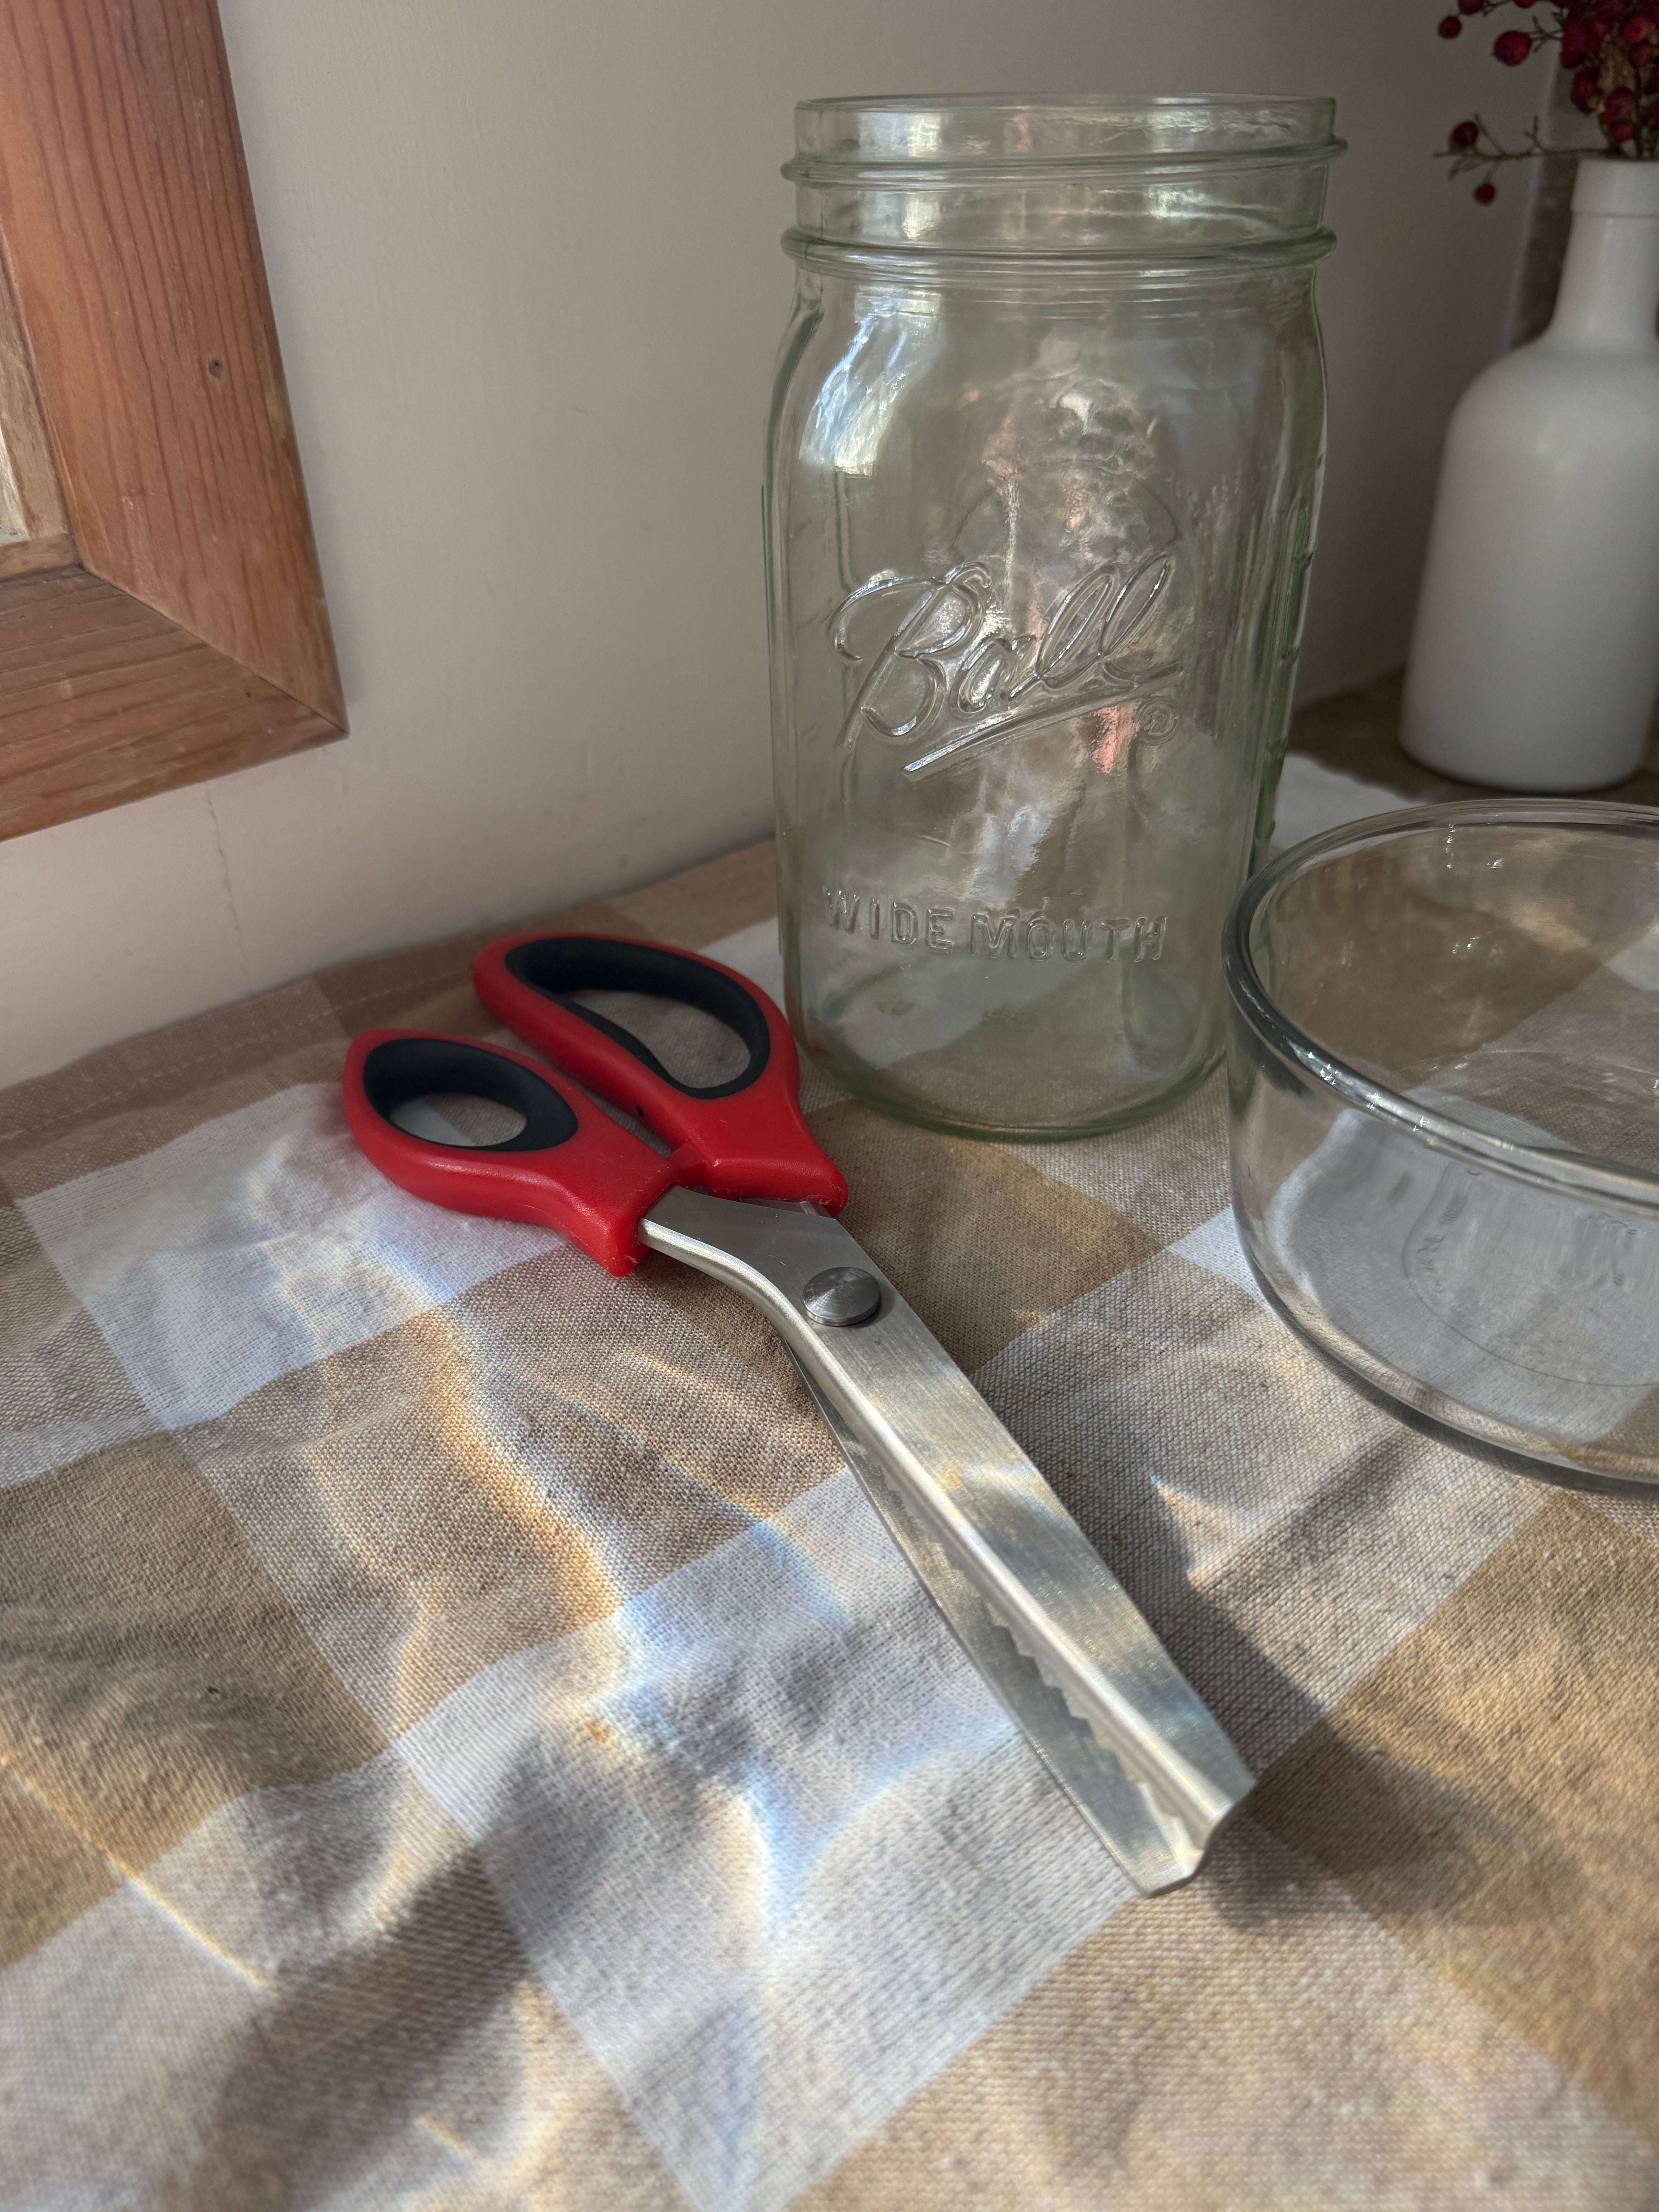
100% cotton fabric (cut with pinking shears)
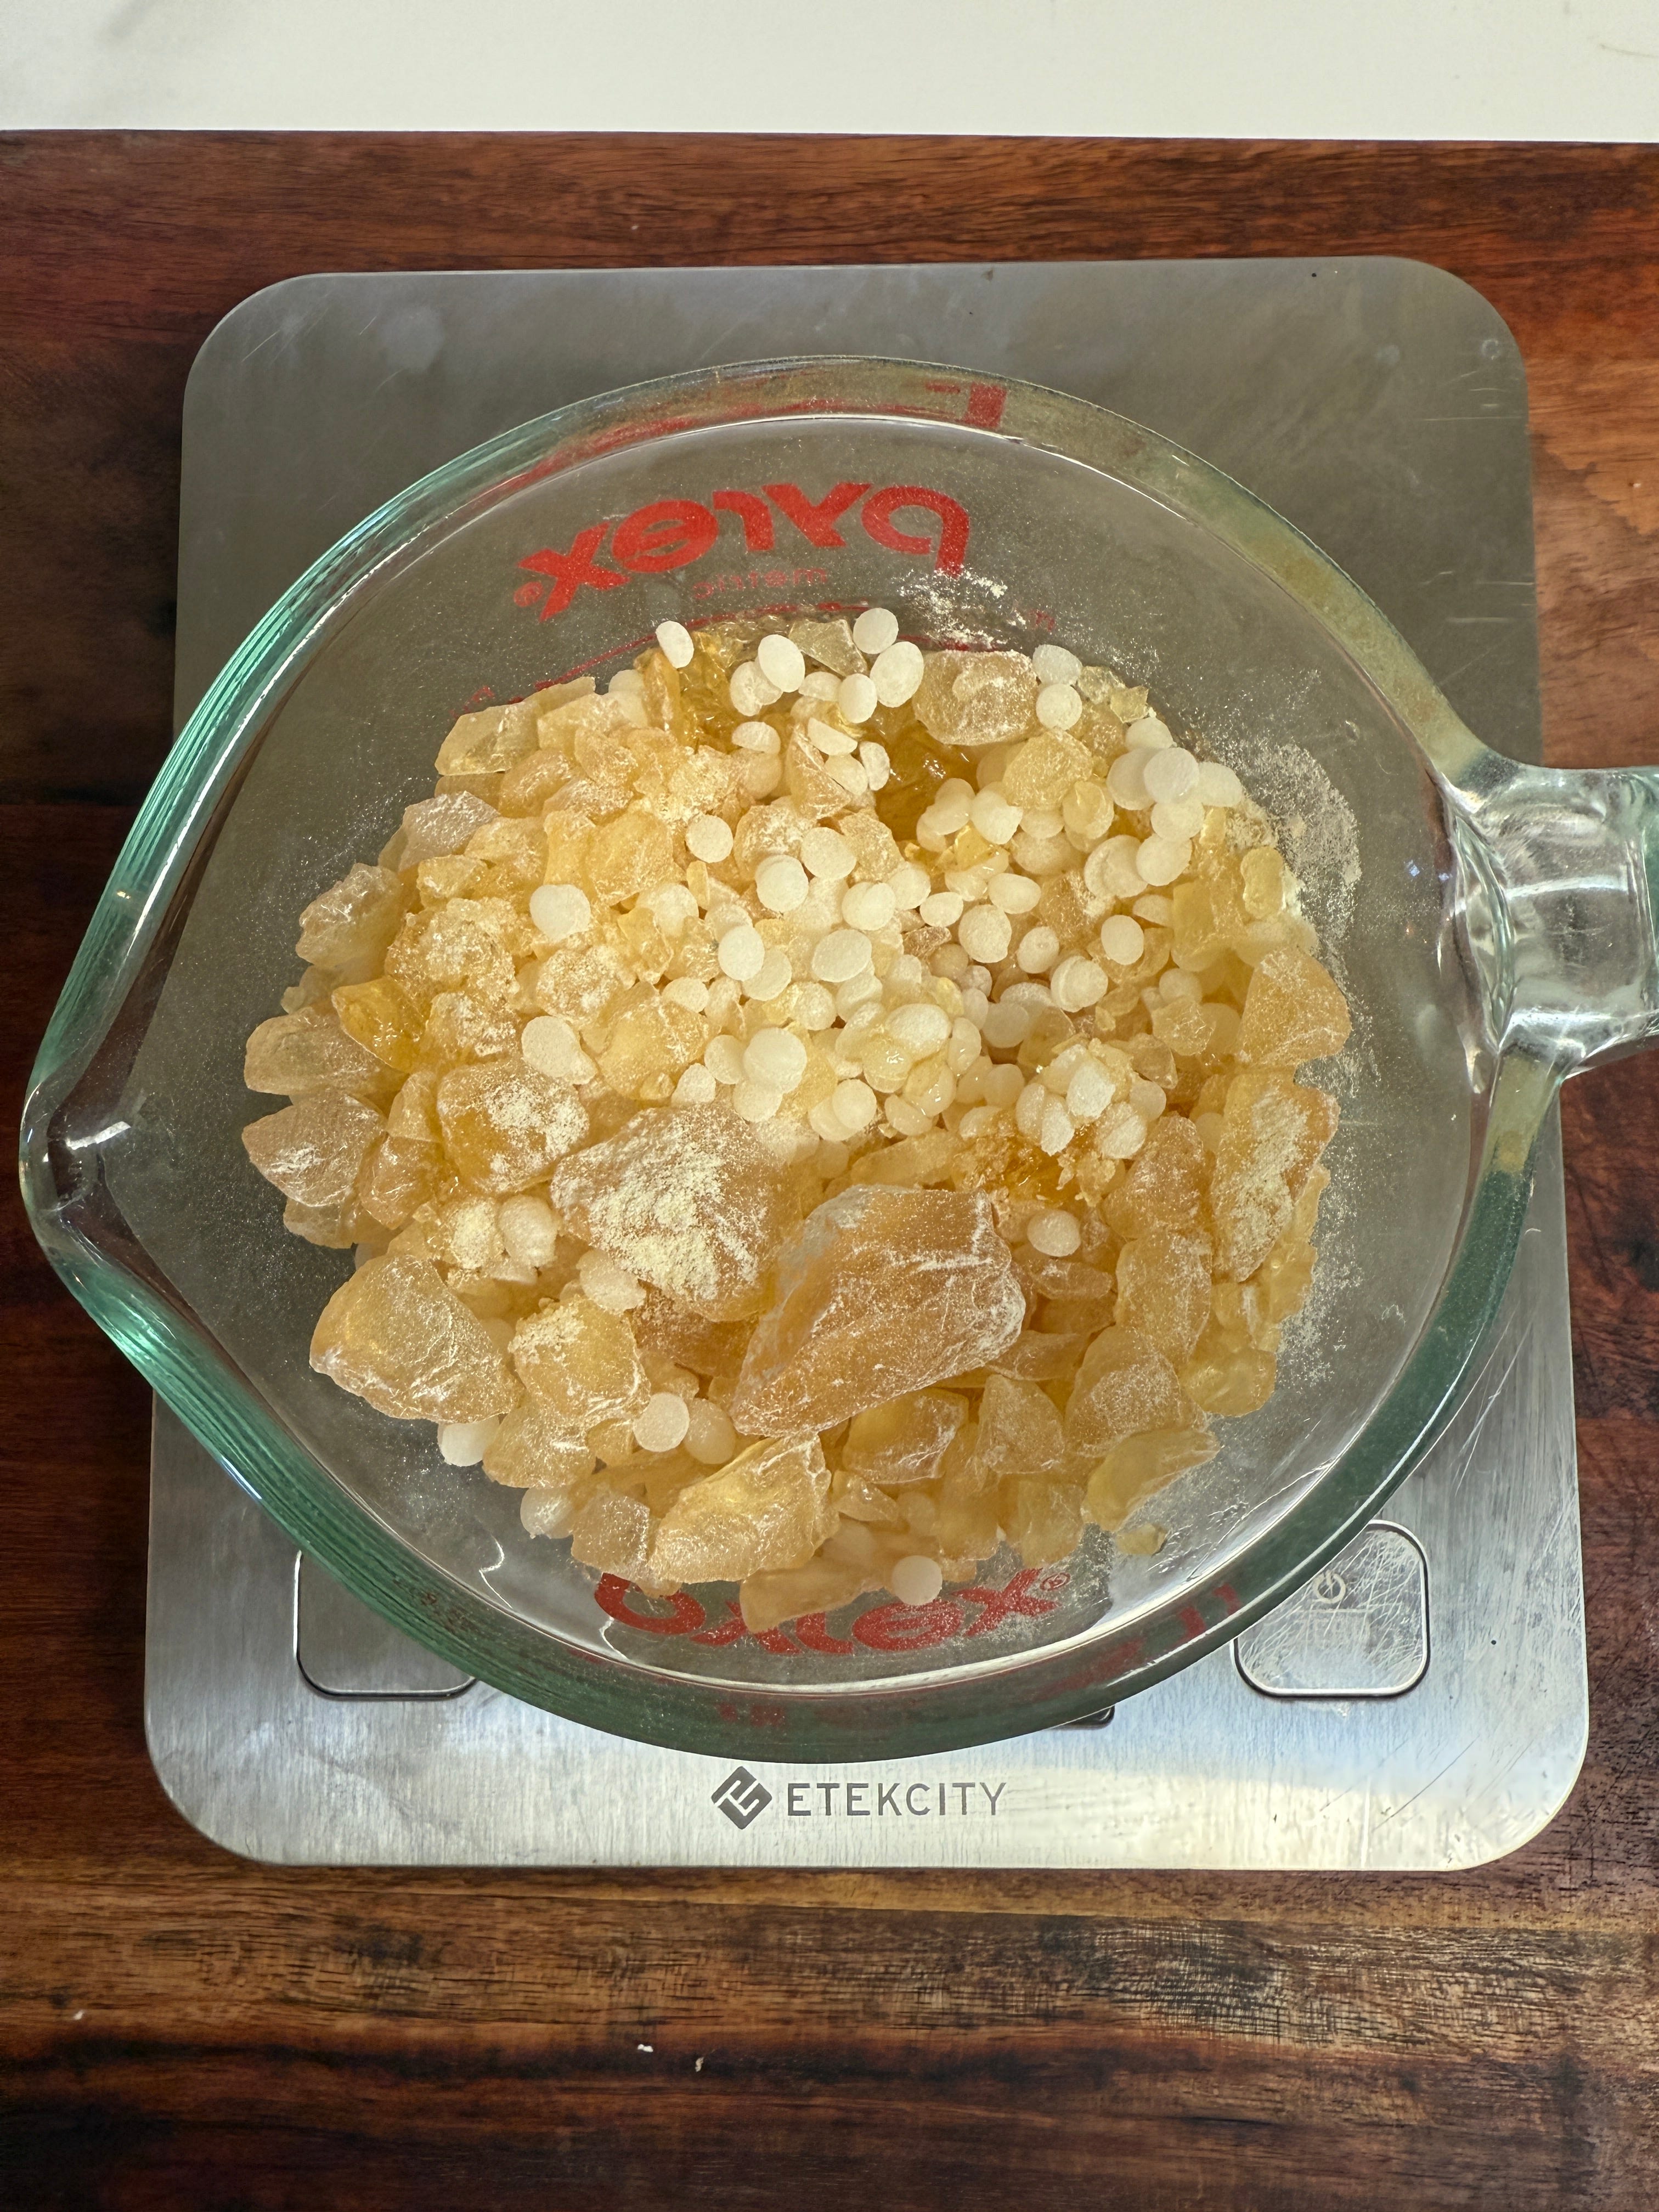
Beeswax
Pine rosin
Jojoba oil
Foam roller or wax friendly brush
2 sheets of parchment paper
Iron
Heat-safe disposable or dedicated wax container
Pot + double-boiler setup
Recommended Ratio (by parts):
2 parts beeswax
1 part pine rosin
½ part jojoba oil
This ratio gives you structure, cling, and flexibility without cracking.Quick note:
If you’re using yellow beeswax, this ratio works exactly as written — yellow is softer and has a lower melt point, so it gives you a nice, bendy wrap.If you’re using white beeswax (like Sky Organics), it’s naturally harder and sets faster, so you may want to use a little less beeswax or a touch more jojoba to avoid ending up with a stiffer wrap. Yellow beeswax naturally has a warm tone, so it can leave a light golden tint on pale fabrics. If you prefer a clearer finish, you can use white filtered beeswax instead but be mindful that it sets faster and is harder to work with.
How to Make It
Prep your fabric.
Cut your cotton into the shapes you’ll actually use. Pinking shears help prevent fraying.Melt the blend.
Add beeswax, pine rosin, and jojoba to a heat-safe container.
Place in a double-boiler over low heat.
Let it melt slowly
Keep the mixture on the boiler the whole time. Beeswax hardens quickly if it cools, so keeping it hot ensures a smooth application.
Set up parchment.
Place one sheet of parchment on your ironing board.Lay your fabric on top.
Apply the blend.
Brush a thin, even layer of the hot mixture onto the fabric. A foam roller gives the cleanest coverage. Keeping the coating even is key here - thick spots can build up and won’t look as smoothCover + iron.
Place the second sheet of parchment over it.
Iron on medium heat to melt and distribute the blend through the cotton.Check for dry spots.
Lift the top parchment, add more mixture if needed, and re-iron.Set the wrap.
Lift the fabric (it’ll be warm and floppy) and wave it for about a minute until it firms up. Hang until dry.Cool completely before storing.
Some of my pieces turned out exactly how I hoped, and others didn’t — but each attempt teaches you something. You truly get the hang of it as you go.
Care Tips
Rinse with cool water only.
Mild soap if needed.
Avoid heat and raw meat.
Rewax when cling fades.